Tutorial
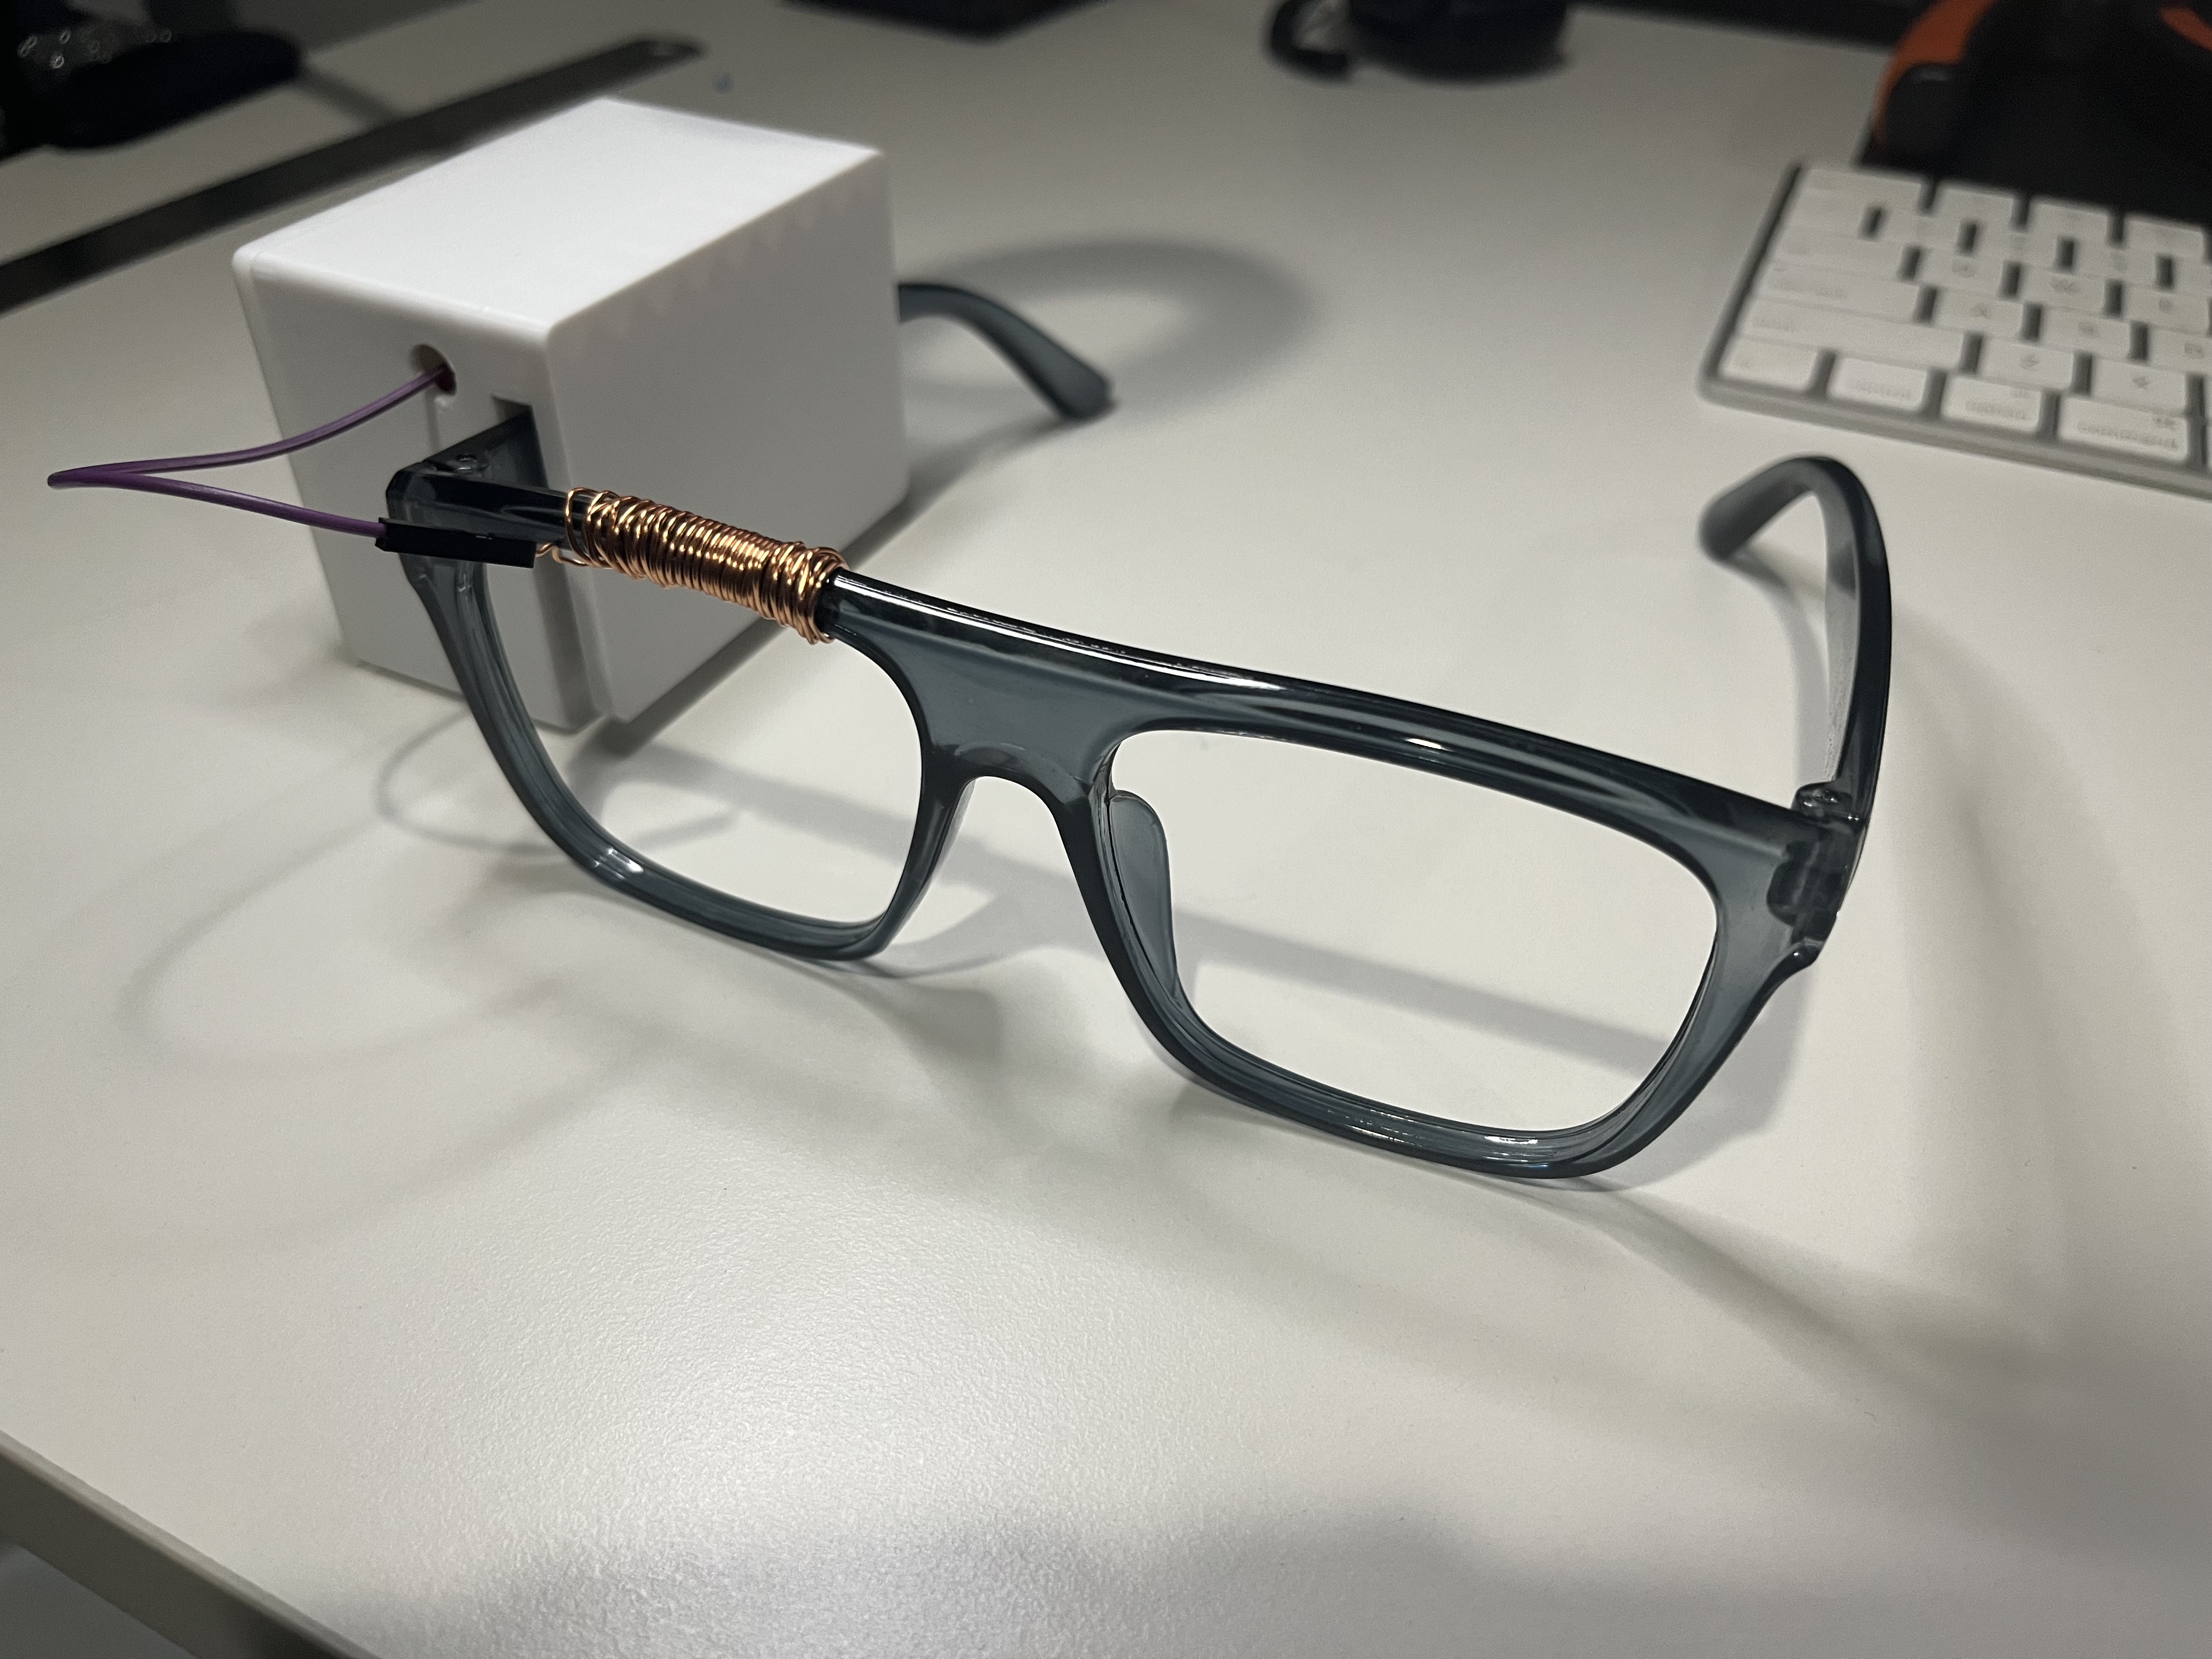
Step 1
Follow the assembly procedure attached in this document to construct the sensor. After you finish, you should end up with a product that looks like the image to the right.
Step 2
Upload the Arduino code (found here) to the sensor. Be sure to configure the arduino secrets file such that the sensor and laptop are on the same network.
Step 3
Launch the Flask backend. Use the login/signup prompts to create an account/login to your account to visit the data panel.
Step 4
Once the sensor has connected to the Wi-Fi network, click on the "begin data collection" toggle to begin collecting data.
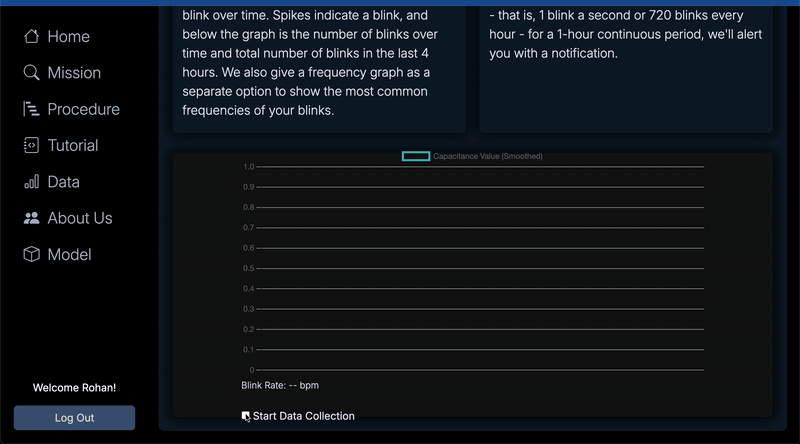
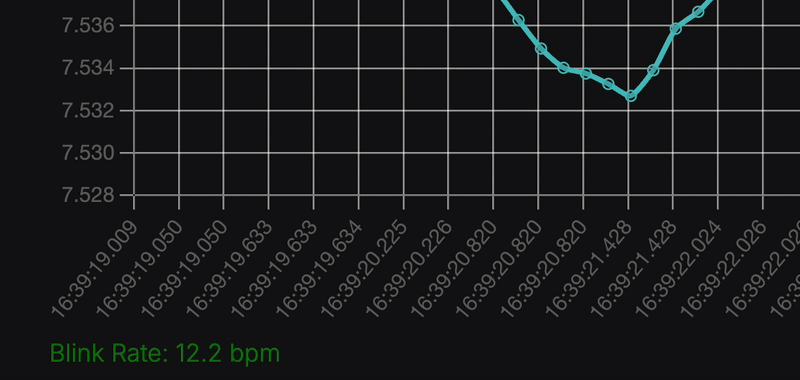
Step 5
Hover over your blink rate to gain insights as to whether your eyes are strained or not.
FAQs
What if I have trouble connecting the sensor to Wi-Fi?
Ensure that your Wi-Fi credentials are correctly entered in the Arduino secrets file. If the problem persists, try resetting the sensor and re-uploading the code.
How do I know if my data is being collected?
Once you toggle the "begin data collection" switch, you should see a confirmation message on the data panel indicating that data collection has started.
Can I view my data in real-time?
Yes, the data panel will display your blink rate in real-time as you collect data.
What should I do if I encounter an error?
If you encounter an error, please check the console logs for any error messages. You can also refer to the troubleshooting section in the documentation or contact support for assistance.